
Current task
ReStory: Chill Electronics Repairs tools
Evidence-backed player reference for ReStory: Chill Electronics Repairs covering tools, with version, source and media boundaries kept visible.
Separate tools, cleaning, diagnosis, and customization when reading the workbench. The official material supports a four-stage repair sequence and several visual tool cues, while the route avoids turning screenshots into an unsupported unlock tree or universal device formula. The result is a recognition guide for the states shown on the bench, not a real repair manual.
Current task
Separate repair tools, cleaning and customization.
Separate repair tools, cleaning and customization.
Working view: full-release-1.0.009r · captured
Tools and cleaning are easy to blend together because the official screenshots show brushes, opened devices, boards, casings, and work surfaces in the same visual language. The game’s published repair loop separates them more clearly: disassemble the device, clean it, replace faulty parts, and assemble it again. This route keeps technical repair, diagnostic tools, and customization in their proper places.
The result is a practical reference for deciding what kind of action a screenshot or workbench state represents. It also explains the captured toolkit and the difference between making a device functional and changing how it looks.
Tools make the repair tactile
The store description promises tools as part of the repair process, while the official screenshot set shows a work surface with small components and opened electronics. The tools are therefore more than an upgrade menu: they are the physical grammar of the bench. They help the player take apart, clear, test, and put back together the objects arriving at the shop.
The captured data does not expose a complete tool unlock tree or name every instrument. Keep the wording at the level the game establishes: tools support the four repair stages and the shop’s growth. A diagnostic view can help a player understand that a fault is being investigated, while a brush or cleaning view signals preparation for the replacement stage.
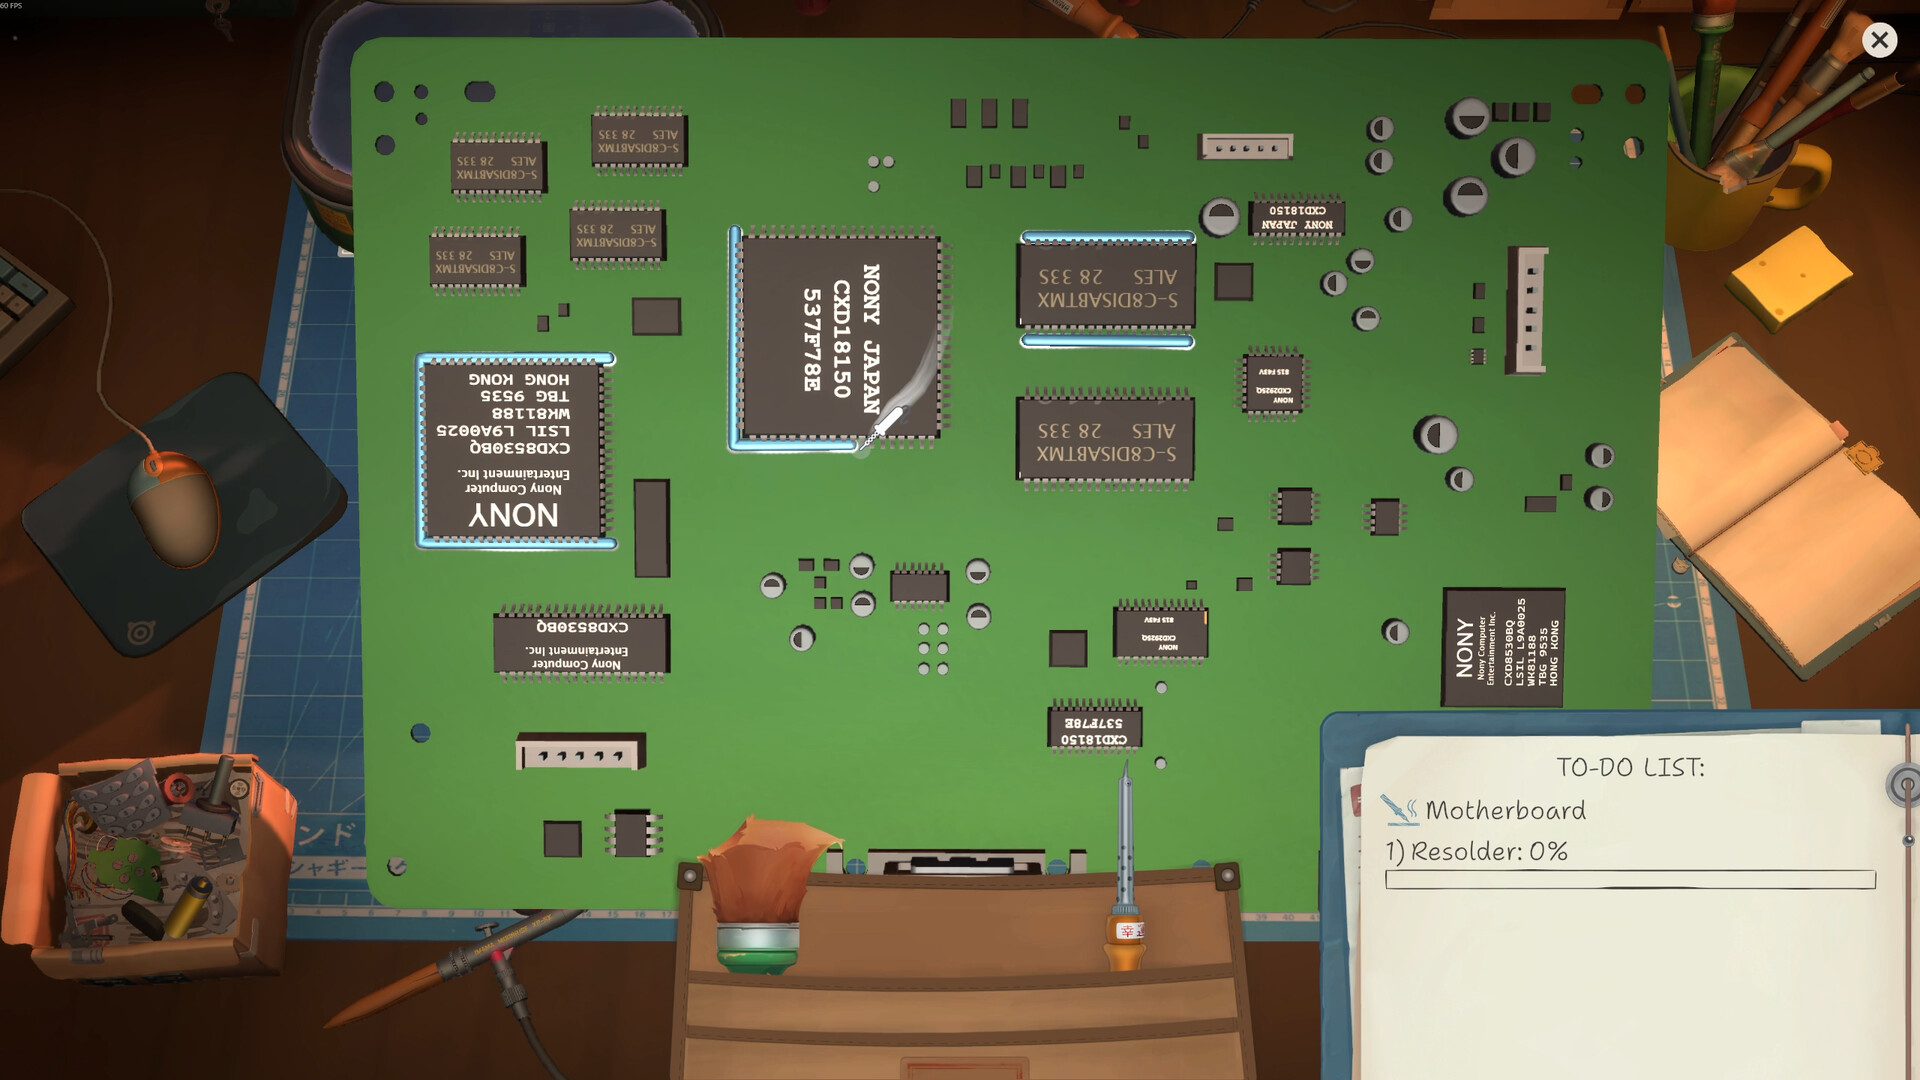
The toolkit is easiest to understand through the work it enables. A tool can expose a device, clear a surface, support diagnosis, or help complete the repair, while the shop’s growth systems provide the broader progression context. The captured sources do not justify naming an unlock tree that is not recorded. Read the workbench image as a set of concrete states: an opened casing signals access, a brush signals cleaning, a board or waveform signals investigation, and the assembled object signals a return to the customer-facing loop.
Cleaning is preparation, not polish
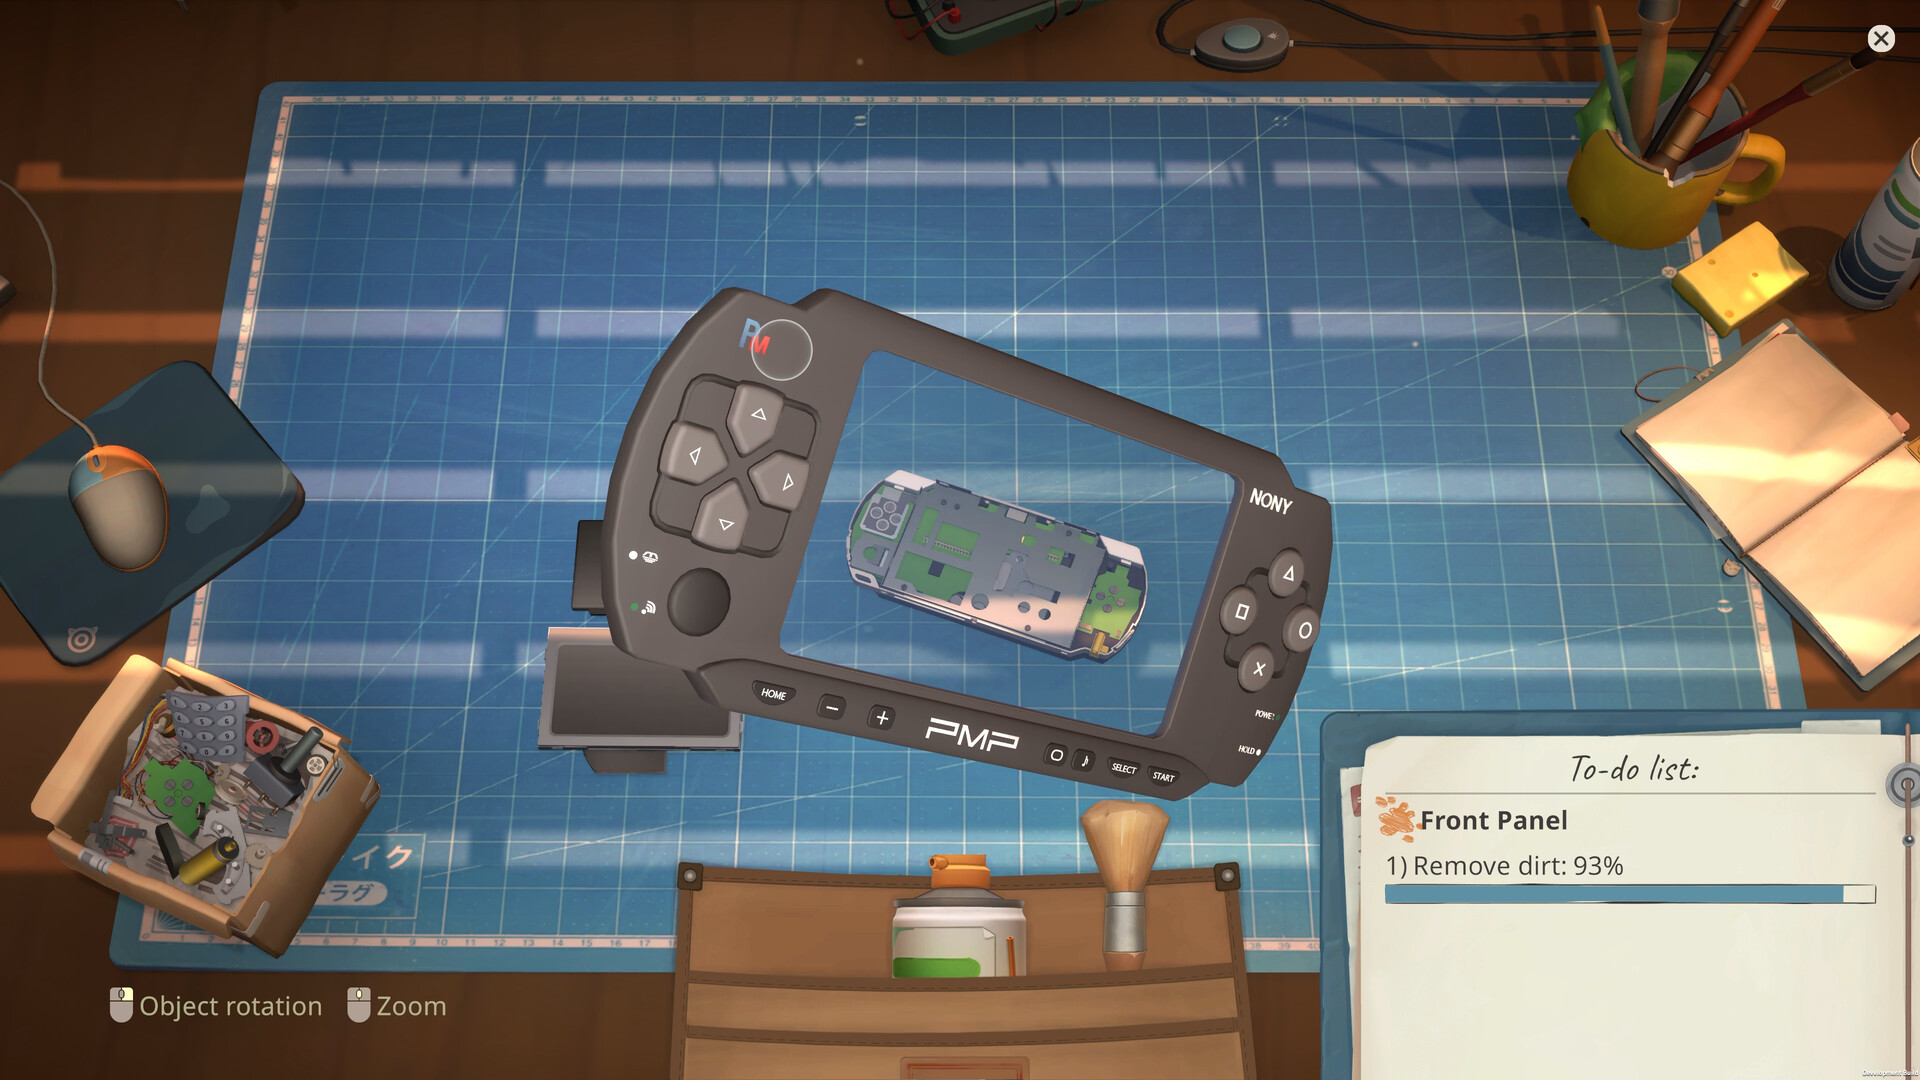
Cleaning sits between disassembly and faulty-part replacement in the published loop. The official images show dirt on opened hardware and a brush being used around small pieces, making the stage easy to recognize. Its purpose is to clear the work area so the player can see what needs attention and move toward a reliable repair.
That role is different from decorative polish. A device can be clean and still need a faulty part, or look attractive after an airbrush pass while its technical repair remains incomplete. When using the bench, finish the cleaning action before deciding what to buy. The route is deliberately simple because the sources support the order but not a universal dirt threshold or per-device hidden score.
A clean surface improves recognition of the next repair action. It does not guarantee that the fault is solved, and it does not make customization part of the technical stage. Write the cleaning result separately from the replacement and appearance choices when tracking a job.
Diagnostic views explain what you are looking at
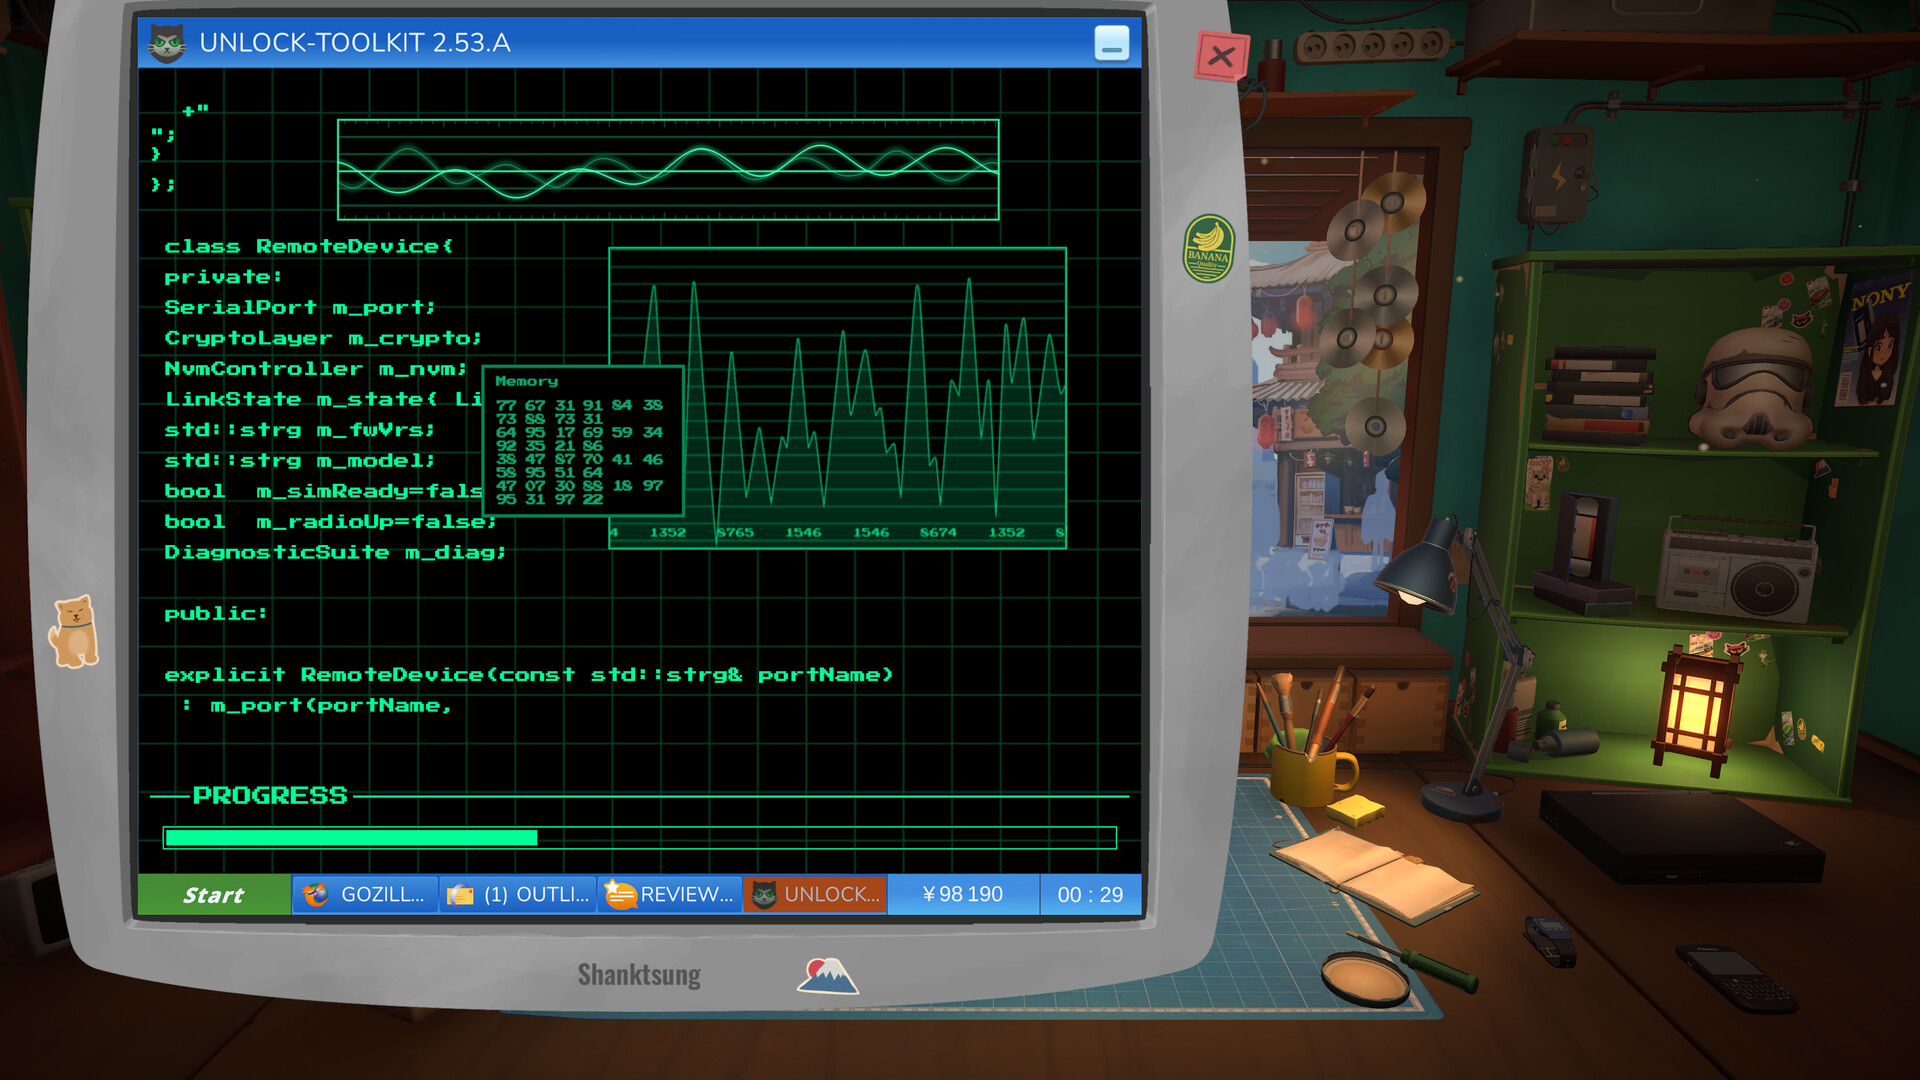
One official screenshot shows a diagnostic waveform and a toolkit-unlock context. That image gives a player a visual cue for investigation: the workbench can present technical information before the final replacement is chosen. A waveform is not a license to infer a real electrical measurement outside the game; it is a game-facing way to make inspection feel specific and readable.
Use diagnostic information alongside the request and the opened device. The most useful chain is request, inspection, cleaning, diagnostic clue, part sourcing, and replacement. Since the captured records do not publish a full fault chart, a responsible guide stops at that chain instead of assigning a real-world component to every fictional name.
The waveform and toolkit imagery gives the bench a readable technical vocabulary. Use it to understand that the game presents an investigation step, then rely on the named request and official route records for the facts. A visual graph is not evidence for a real electrical specification.
Customization changes the surface
The sources mention an airbrush and color palette, and the screenshot set shows a MyPod being painted. Room decor is also part of the shop’s growth. These activities let a player shape the visible identity of the shop and its devices, which is an important contrast to the fault-repair stages: one restores function, the other expresses taste.
Keep customization in a separate note when planning a job. First use tools to complete the repair, then decide whether the device or room needs an appearance change. The material does not establish a single winning palette, a required paint recipe, or an exhaustive decor list. It does establish that visual choices are part of the game’s progression and not an invented side feature.
Customization belongs to the same workplace but answers a different player question from diagnosis. Paint, room decor, and palette choices show how the shop or device can look; they do not establish a fault, replacement part, or guaranteed reward. The distinction keeps the route evidence-led.
A stable sequence for a calm bench
For a repeatable shift, identify the device, disassemble it, clean the exposed work area, follow the available diagnostic cue, source the faulty part through the browser, replace it, and assemble the device. This order mirrors the published repair loop while leaving space for the game’s own interactions and customer dialogue. It also avoids spending shop money before the player knows what the work order needs.
The screenshots help with recognition: opened casing for disassembly, dirt and brush for cleaning, a board or waveform for diagnosis, browser listings for sourcing, and paint or room views for customization. Read the images as a sequence of states rather than as a collection of unrelated decorations. That is the practical reason the tools route sits beside the repair bench and parts browser.
A stable sequence is therefore more useful than a fictional mastery chart: read the request, open the device, clean the work area, inspect the fault, source the part, assemble it, and return to the customer. Each step is grounded in the captured shop and repair descriptions.