Current task
ReStory: Chill Electronics Repairs repair loop
Evidence-backed player reference for ReStory: Chill Electronics Repairs covering repair loop, with version, source and media boundaries kept visible.
Use this bench card to separate disassembly, cleaning, faulty-part replacement, and assembly. Each stage has a distinct job in the captured repair loop, and the surrounding notes connect technical work to customer handoff, shop finances, and room customization. The page also marks the boundary between confirmed game actions and real-world electronics assumptions.
Current task
Follow the evidence-backed repair stages.
Follow the evidence-backed repair stages.
Working view: full-release-1.0.009r · captured
Parts-browser / work-order pair
Active work order
Named in the official demo post and visible in the official screenshot set.
Open the captured device view before choosing a replacement part.
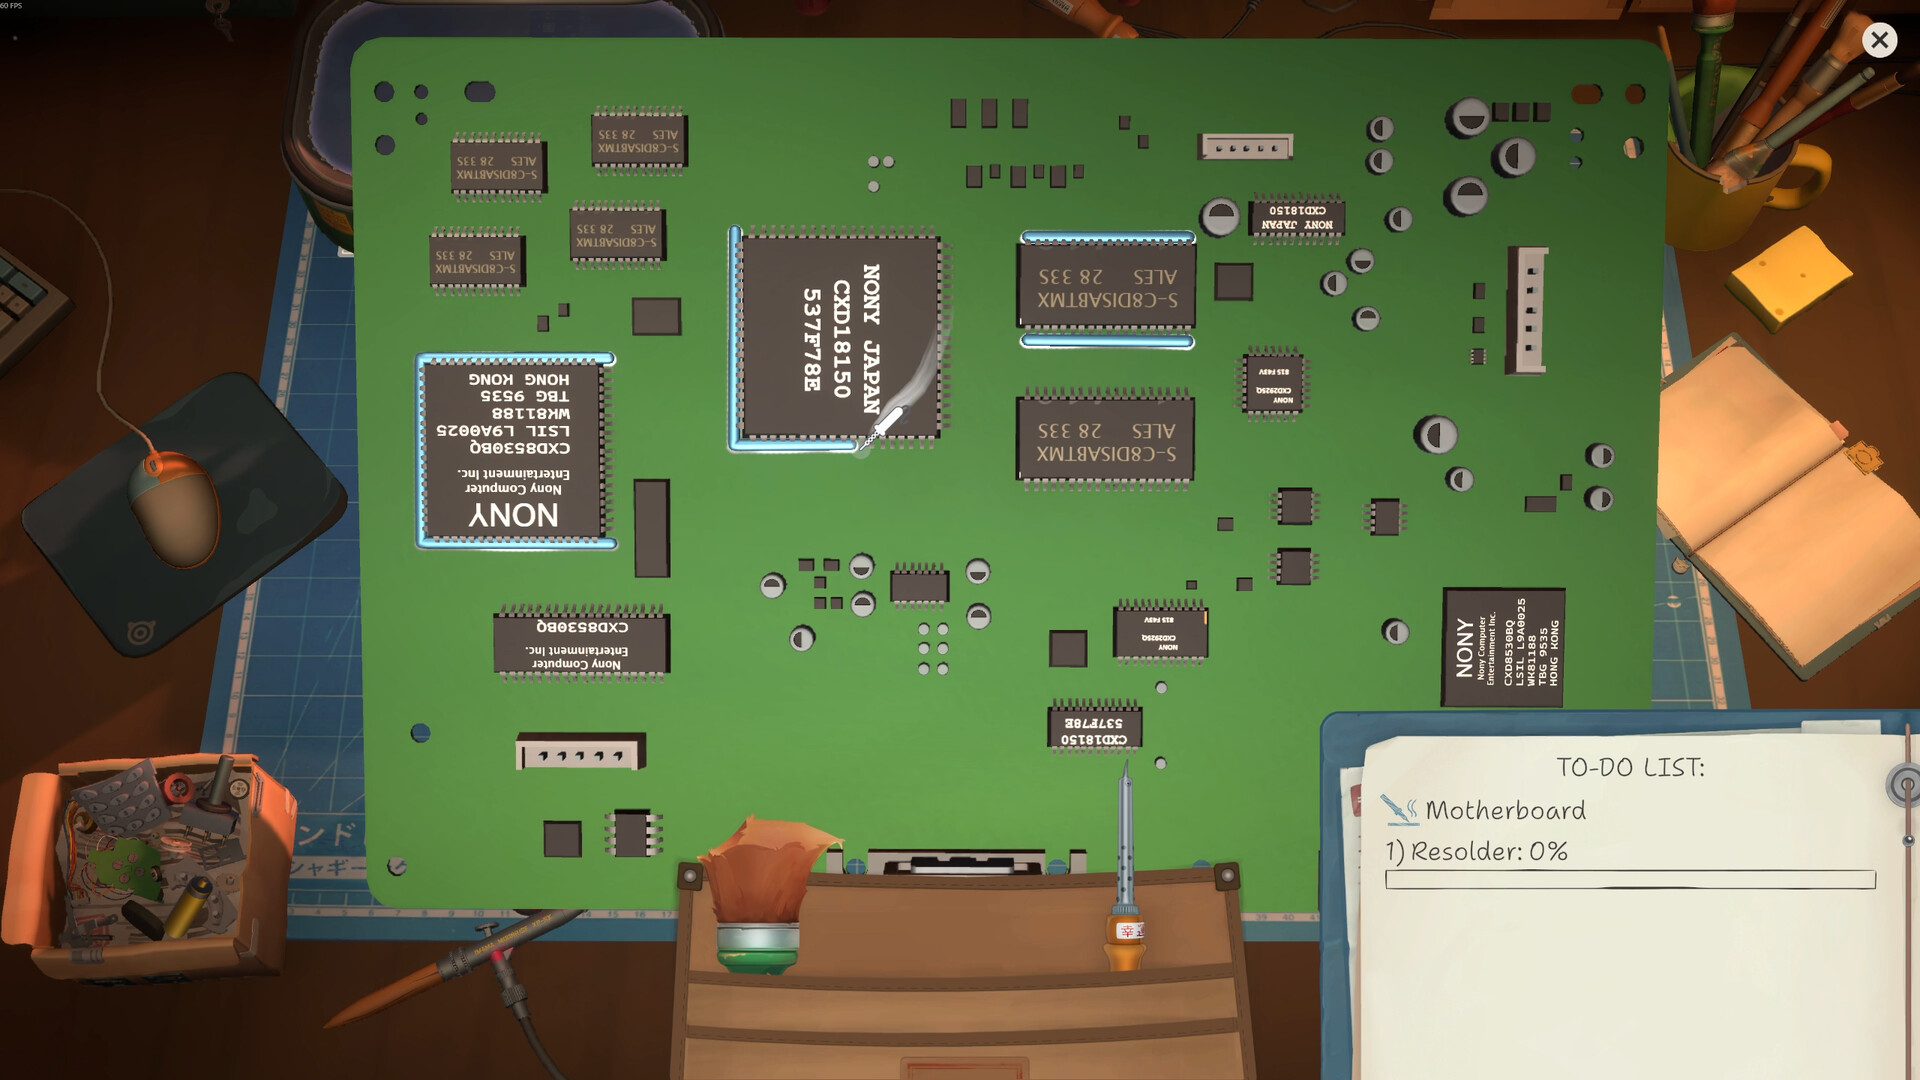
The repair bench is the mechanical center of ReStory: Chill Electronics Repairs. The official product description gives a four-part loop—disassembly, cleaning, faulty-part replacement, and assembly—and the supplied Steam screenshots make those verbs visible through opened casings, brushes, circuit boards, small parts, and tools. This page treats the sequence as a practical bench card for players who want to understand what each stage contributes.
The game is not documented here as a generic electronics course. The stages below describe the specific repair fantasy presented by the captured material: restore an object for a customer, keep the shop moving, and make room for the social and financial decisions that sit around the work.
Disassembly: expose the work order
Disassembly is the point where a customer’s vague complaint becomes a physical job. The official screenshots show opened handhelds and consoles on a cutting mat, with casings separated from boards and parts arranged around the device. That arrangement matters because it makes the inside of the object readable. A player can see that repair is not only a dialogue choice; the shop asks for an interaction with the device itself.
Approach this stage as an inventory and orientation pass. Keep the device name in mind, note which pieces are visible, and do not mentally skip straight to the replacement part. The captured sources do not publish a universal button sequence or a per-device fault map, so the reliable instruction is to follow the object’s presentation in the workbench view. Patento BS and the other named devices are records of what appears in the game, not a promise that every internal component is identical.
The visual evidence makes disassembly a recognition step as well as a mechanical one. Casings, boards, brushes, and loose pieces should be read as parts of the same named work order. The route uses those cues to orient a player without inventing a real-world screw map. Before moving on, identify which visible pieces belong to the device and which are simply part of the surrounding bench scene, then follow the interaction the game presents for that work order.
Cleaning: remove the visual noise
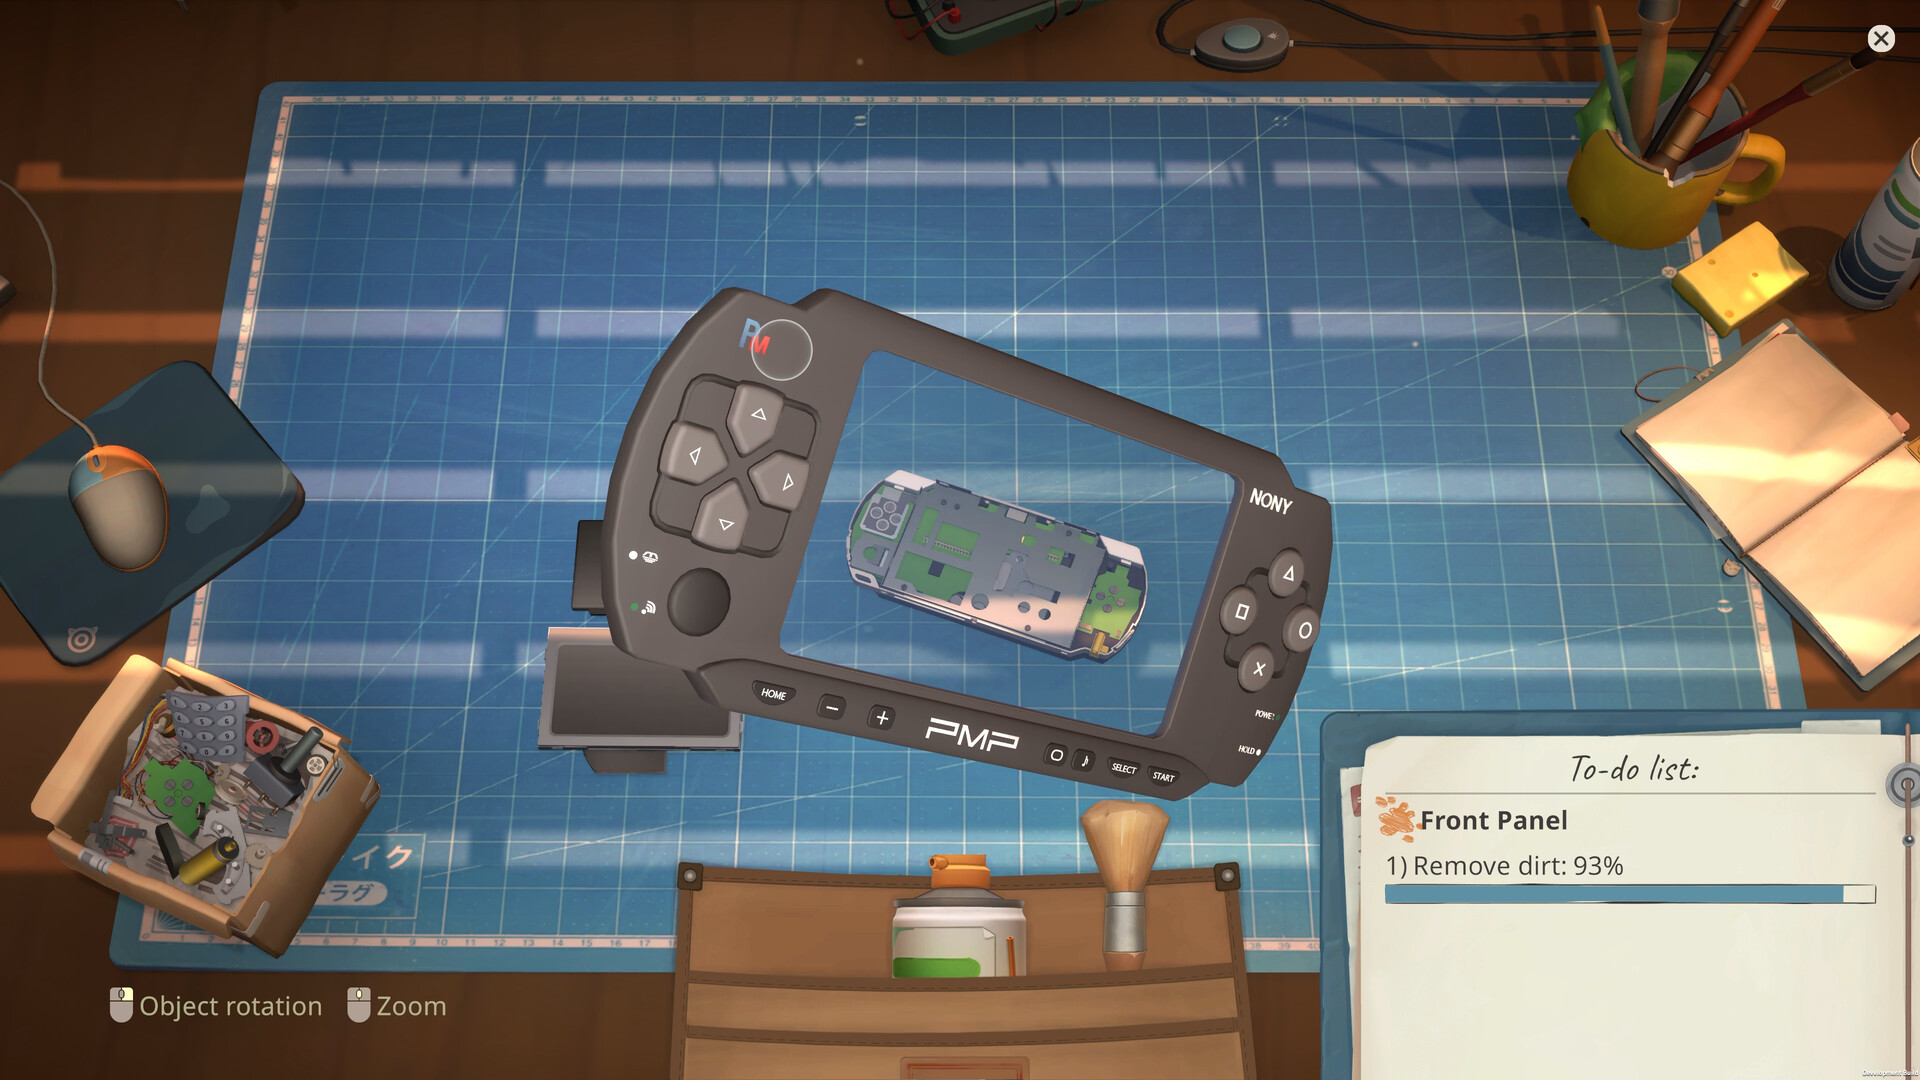
Cleaning has a distinct role in the published loop. Brushes and dirt appear in the official screenshot set, and the store description places cleaning between taking a device apart and replacing a faulty part. That order gives the stage a practical meaning: dirt can obscure the work area, while a clean surface makes it easier to understand what has actually failed. The game turns a familiar maintenance task into a calm, tactile part of the shop rhythm.
Do not confuse cleaning with cosmetic customization. Cleaning prepares an object for repair; airbrushing and palette choices change its appearance. The two can share the same workbench, but they answer different questions. A good bench note says what was removed, what component needed attention, and what finish was chosen afterward. This keeps the visual reward from replacing the technical story of the job.
Cleaning also creates a boundary between visible dirt and the later fault decision. A brush in the screenshot signals preparation, while a palette or airbrush signals appearance work. Keeping those meanings separate helps a player describe what happened at the bench instead of collapsing every action into “repair.”
Faulty-part replacement: fix the cause
The replacement stage is where the repair moves from inspection to a concrete correction. The parts browser is part of the game’s in-world web activity, and the official screenshots show listings and a shop wallet, tying part selection to the wider business loop. The useful player decision is therefore two-sided: identify the part that answers the request and consider the cost or availability that the shop systems present.
The supplied records do not give a complete component database, universal prices, or an all-device solution table. What they do establish is a named repair activity in which spare parts can be sourced through the browser. Use the parts route to understand that system, then return to the bench with the particular device in front of you. Avoid importing real-world repair assumptions when the game’s fictional devices use their own names and presentation.
The replacement decision links three records: the device name, the observed workbench problem, and the parts-browser listing. The supplied data does not prove a universal best part or price, so the useful instruction is to match the sourced item to the current fictional device and request.
Assembly: close the loop cleanly
Assembly reverses the opening process and is the stage that makes the handoff possible. The game’s repair language describes putting the device back together after cleaning and replacement, while the screenshot set shows parts laid out around the opened object. In practice, assembly is a useful reminder that a successful repair is more than a correct component: the restored object must become a complete customer device again.
A calm sequence is to confirm the replacement, check the visible parts, and follow the workbench’s assembly presentation rather than racing through it. The captured facts support the existence and order of this stage, but not a hidden score rubric for every casing or connector. Keep that boundary in mind when reading community advice: a visual similarity can help you recognize a device, while the official record is the safer source for what the game actually calls the step.
Assembly is the final physical check before the customer-facing part of the job. The stage confirms that the replacement, casing, and visible pieces belong together again. Its place in the published order is certain even though the supplied sources do not expose a hidden score for every device.
From technical work back to the shop
The four stages sit inside a broader loop of intake, customer stories, finances, and growth. A finished device can therefore change what happens next at the counter. The official description also names room customization, including an airbrush, color palette, and decor, so the bench is connected to the look and feel of the shop rather than isolated in a menu. Use the gallery below as a visual index of that connection: opened hardware, cleaning, boards, paint, and named devices all belong to the same work order language.
The clearest player habit is to separate three notes: the customer request, the technical stages, and the business or story choice around the handoff. This preserves the game’s cozy pacing while making it easier to remember why a device was opened, which part was sought, and what the shop was trying to become. The reference does not add a hidden repair formula; it gives the published sequence room to guide the play.
A finished bench sequence changes the next decision rather than ending the game’s loop. Use the work order to remember what was repaired, the customer route to remember who asked, and the shop route to remember what the business or room was doing at the same time.